Below are detailed instructions on how to properly set up and operate the Leister VARIMAT V2 automatic hot-air welding machine. Prior to starting, we recommend reading through the manufacturer's warnings and cautions listed within the Operating Manual. If you have any questions, or need clarification, please call us at 800-635-0384.

1. Connect the VARIMAT V2 to the proper power source.
To function properly, the VARIMAT V2 requires a clean, consistent power supply. Following are its power requirements:
If using an extension cord, it should be 10-3 gauge wire or lower, and be a maximum length of 150-feet.
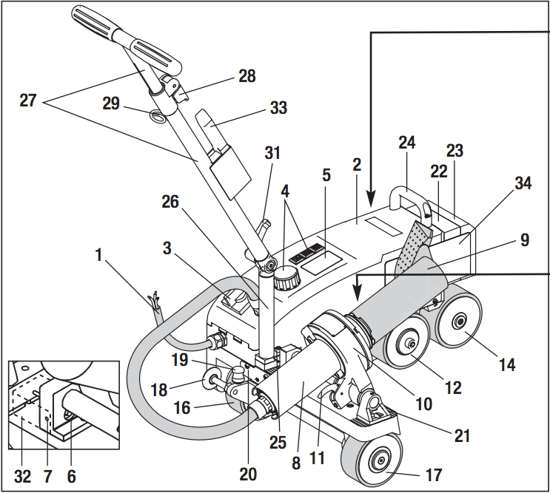
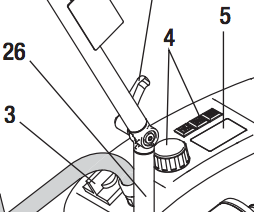
 2. Turn on the welder using the yellow power switch (3).
3. Using the e-Drive knob (4), select the proper material profile, or manually adjust the drive, heat and blower settings according to your job's requirements. Once set, press the e-Drive knob twice to heat up the machine.
4. Allow the VARIMAT V2 three to five minutes to reach proper welding temperature. Check the digital display (5) to see the actual temperature, and when the machine is ready for operation.
5. When the VARIMAT V2 has reached proper temperature, run a test weld on a scrap piece of material to make sure the drive, heat and blower settings are properly configured for the job.
6. When satisfied with the test weld, position the automatic welder on top of the installed roofing material to be welded.
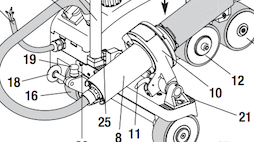
 7. Align the pendulum roller (12) along the leading edge of the membrane seam. You can also swing down the guide wheel (18). These two wheels are aligned with each other, so if the guide wheel is tracking the seam, so should the pendulum roller.
PRO TIP: The VARIMAT V2 comes with two flat metal pieces that can placed between the seam where the welder will swing into position. Since the machine will start moving as soon as the nozzle is in position, the beginning of the seam may not receive enough heat to weld properly. The metal sheets gives the welder a short ramp up period afterwhich the weld should be perfect assuming the settings are correct.
8. Double check the drive, heat and blower settings to make sure they are all still configured properly.
9. Pull the locking lever (11), lower the heat gun (8), and slide the nozzle between the two plastic membrane sheets until it stops.
10. Using the handle, guide the machine along the seam, making sure the pendulum roller (12) and/or guide wheel (18) follows the leading edge of the top fabric sheet.
11. Using the handle, guide the machine along the seam. Do not push or pull the machine, the drive motor will ensure a steady pace.
12. Once the weld is complete, pull up on the locking lever (11), slide the nozzle away from the seam, and swivel the heat gun (8) up into lock position.
 If you are done welding for an extended time period, while the nozzle is still hot, use a steel wire brush to scrape away any leftover plastic that may have melted on to the nozzle.
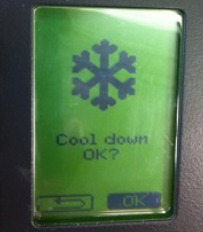
13. Cool down the heating element by pressing the e-Drive knob (4) twice to shut off power to the heating element. The blower motor will keep running and automatically shut off when the element is sufficiently cooled. This takes approximately four minutes.
If you have any questions about your Leister VARIMAT V2 automatic welder, contact Hy-Tech Products at 800-635-0384 or your local Leister distributor and service center.
© 2026 Hy-Tech Products, Inc. All rights reserved. Terms of Use