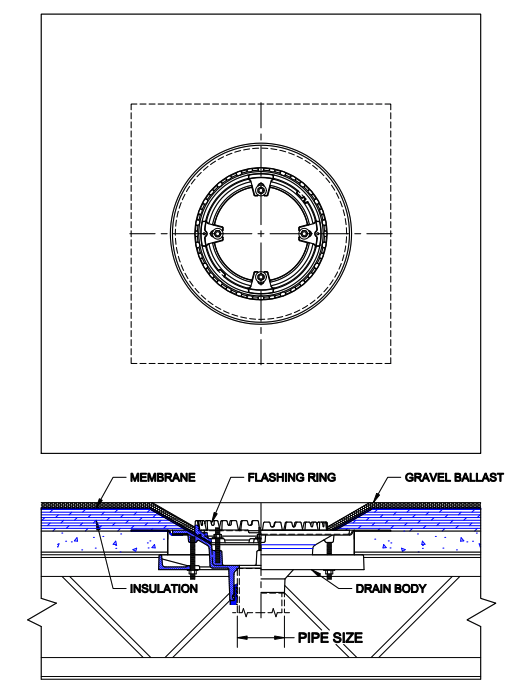
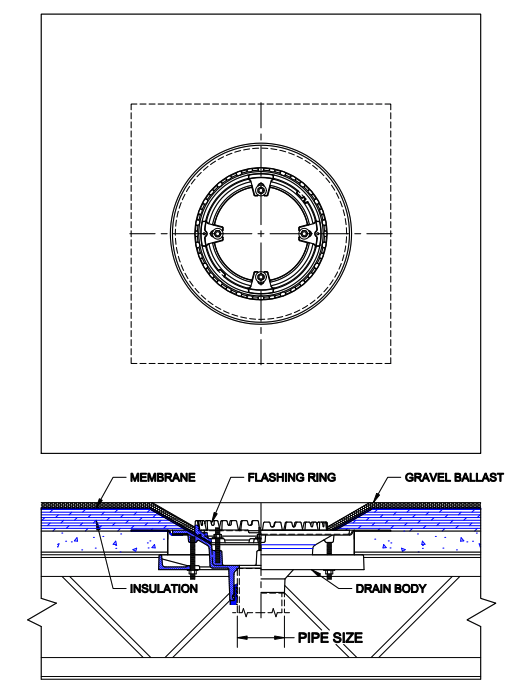
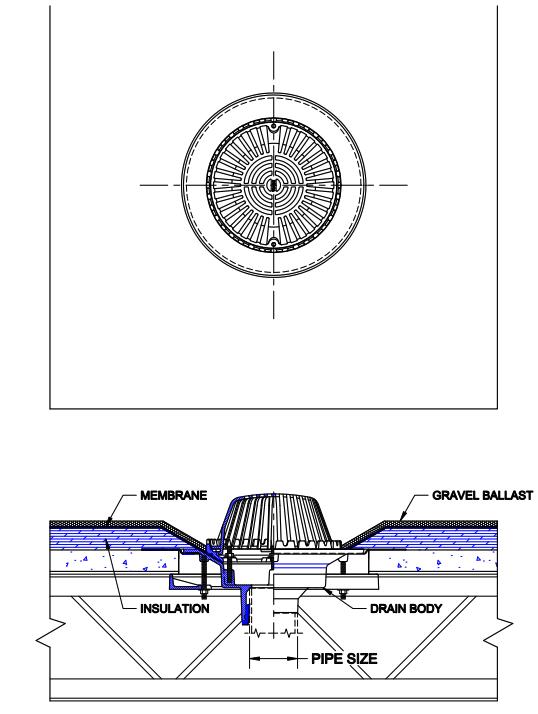
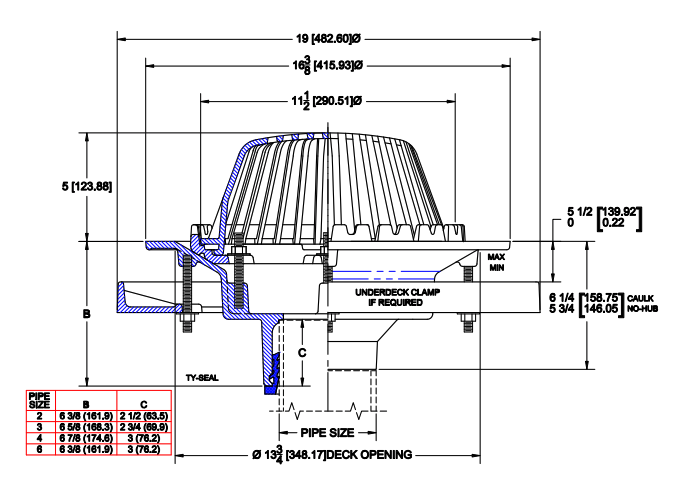
The Wade 3000 15-in. commercial roof drain is a cast-iron roof drain with flange, flashing ring integral with gravel stop, plastic mushroom dome and bottom outlet.
Installation Instructions
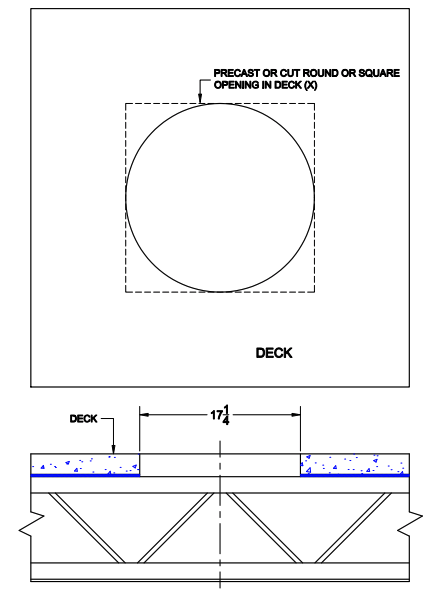
- At the predetermined location, locate the center for the drain opening and scribe to dimension.
- Verify that there are no obstructions under the area where the drains will be located.
- Check to ensure that the location is to system engineered plans.
- If the specified location has interferences, or if a location change is desired, do not proceed. Consult with the engineering authority responsible for the design so the change can be reevaluated.
- If no problems exist at the predetermined site, cut a round or square opening in the deck (X – Dimension).
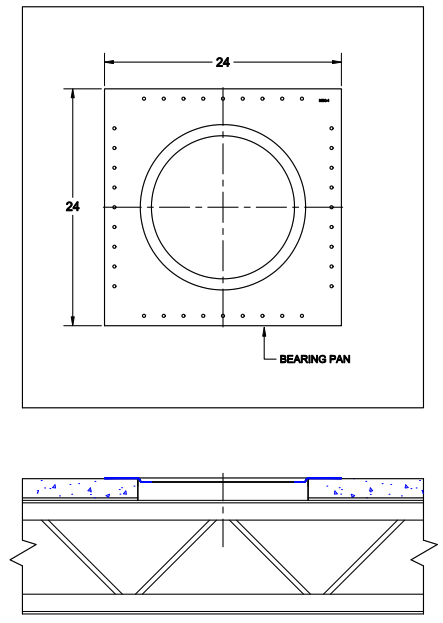
- Install the bearing pan (sump receiver) into deck opening.
- The bearing pan has perimeter holes for securing to the deck (if desired).
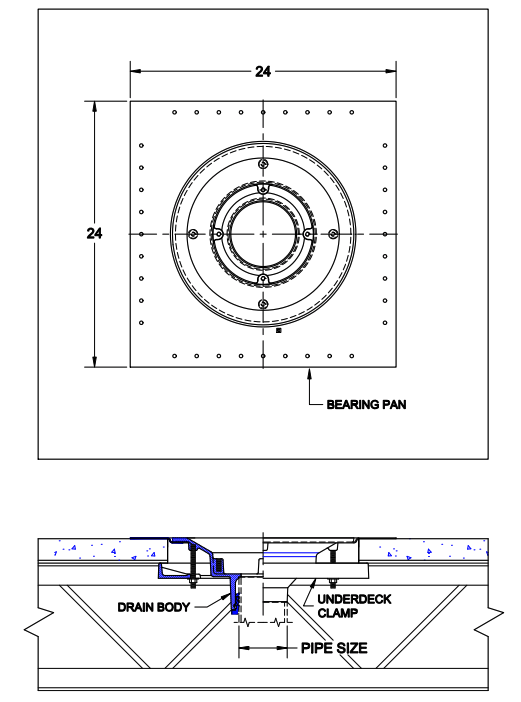
- Install drain body into bearing pan recess.
- From the underside, install under deck clamps and tighten securely. Installation of the pipe may then proceed.
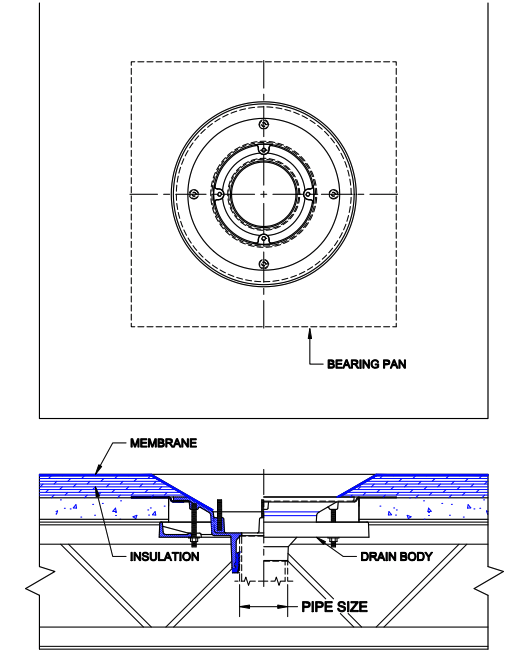
- From the roof side, the insulation can be installed. The insulation should be tapered to the roof drain a minimum of 4 inches from the edge of the drain.
- Apply membrane per manufacturer's instructions. Cut the opening in a circular pattern, and notch around threaded studs (if required).
- Membrane must lay flat and contour the opening.
- Install the flashing ring with the hardware provided. Ensure that the nuts are tight.
- Install dome.
